
WARNING: this is an experiment of mine so if you have any bugs please report them so I can tackle it ASAP, also if you have any feature requests let me know.
Kintext is a powerful After Effects ScriptUI panel designed to automate the process of importing CSV text lists, building text sequences, and syncing their timings using a Master Null marker controller. It streamlines subtitles, lyric videos, kinetic typography, and presentations by eliminating tedious keyframing and slicing.
Installation
macOS
1. Copy the `KINTEXT.jsx` file.
2. Paste it in:
`/Applications/Adobe After Effects [Version]/Scripts/ScriptUI Panels/`
Windows
1. Copy the `KINTEXT.jsx` file.
2. Paste it in:
`C:\Program Files\Adobe\Adobe After Effects [Version]\Support Files\Scripts\ScriptUI Panels\`
KINTEXT Guide
Features
Selected CSV Import: Load text lists directly by selecting a CSV file in your After Effects Project panel.
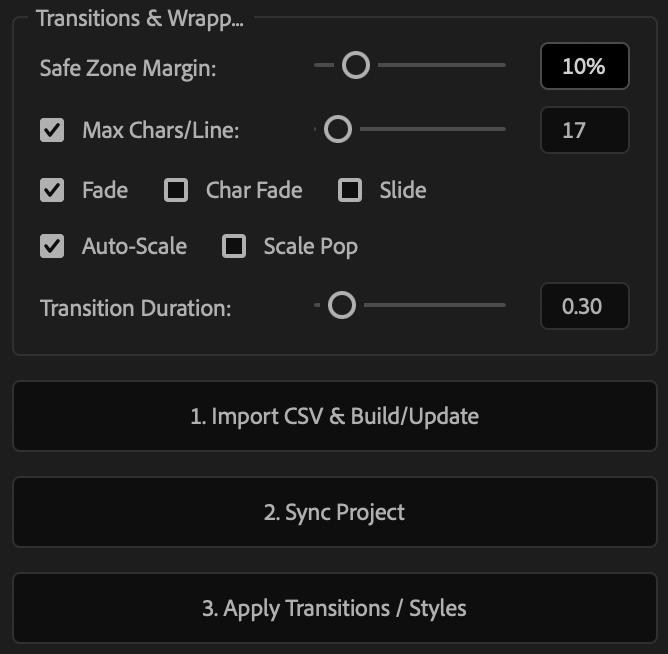
Responsive Safe Zone Margins: Dynamically calculate word wrapping limits based on the composition width, your safe zone margin (0% to 45%), and the character font size.
Real-Time Style Updates: Interactively slide margin values, transition durations, or check animations (Fade, Slide, Auto-Scale, Scale Pop, Char Fade) to instantly preview expression changes on active layers.
Character-by-Character Fade: Add advanced text animator-driven fades that animate each character sequentially for high-end kinetic text effects.
Step 1: Import CSV & Build
1. Import a CSV file into your After Effects project. Ensure the first column contains the text rows you want to display.
2. Select the imported CSV item in the Project Panel.
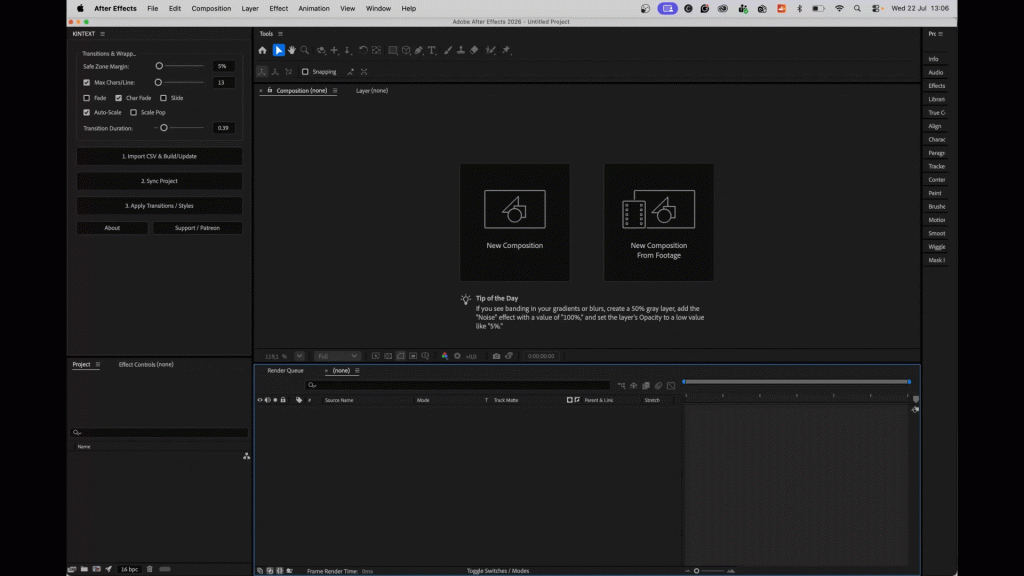
3. Open KINTEXT (`Window > KINTEXT.jsx`) and click **`1. Import CSV & Build/Update`**.
4. KINTEXT will generate a Master Null controller layer (`CSV_Controller_[ID]`) and sequence text layers sequentially at 1-second intervals.
* *Note: If no CSV is selected in the project, the plugin will offer to open a file browser dialog so you can choose one directly.*
Step 2: Time the Text
1. Double-click the Master Null layer in the timeline to view its markers.
2. Drag the numbered markers to align with your background audio, voiceover, or timing beats.
* *Do not delete or rename the `END` marker, as it defines the duration limit of the final text layer.*
Step 3: Synchronize
1. With your composition active, click **`2. Sync Project`**.
2. All text layers will instantly snap their in-points and out-points end-to-end to align with the marker positions on the Master Null.
Step 4: Customize Transitions & Styles
Safe Zone Margin: Use the slider to define the title-safe boundaries. The text will wrap dynamically using the text layer’s active Character panel font size.
Fade: Blends the opacity of the entire text layer at the start and end.
Char Fade: Sequentially fades characters one-by-one using After Effects Text Animators.
Slide: Slides the text layer on and off-screen.
Auto-Scale: Fits the text layer scale to the margins regardless of character count.
Scale Pop: Smoothly zooms the text scale from 0% to 100% on in-points and out-points.
Transition Duration: Slide to adjust the ease timing (in seconds).
Dynamic Update: Check/uncheck options or slide values to watch expressions change immediately on selected layers, or click **`3. Apply Transitions / Styles`** to force a complete styling update.